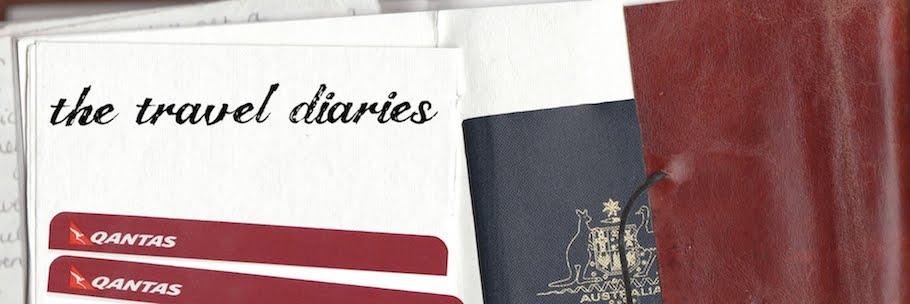
(Each of us both had current passports, so our first big step towards planning was applying for visas)
While the main reason for this blog is for family & friends to keep updated on our adventures, we'd also like to include a few posts dedicated to 'things we learn along the way', in the hopes that it will be helpful for anyone who decides to embark on a similar journey. We are so grateful to others who have blogged about their experiences, tips & lessons' learned, that we'd like to pay it forward.
I guess the most stressful thing for us in the whole preparation for our trip was applying for our visas {read: I was unnessacerly stressed, while Jon was (surprise, surprise) not.}
I think the formality of the process, combined with the horror stories of "I was rejected for 'no' reason & had to pay twice" or "my visa didn't show up in time & I had to cancel my flights" is what gave me the jitters & I was truly amazed how simple the process really was.
For anyone who is about to apply, read up about the process on the Aussie Nomad's website here & here he has detailed the process wonderfully & answers everyone's comments.
All I will add is a few things we learnt through our experience.
All I will add is a few things we learnt through our experience.
1. It was no issue that our funds were in a joint bank account {still needed £1,600 each obviously}
2. For those who share my obsessive nature, note that passport photo does not need to be attached in any special way to the application form prior to having your biometric data taken. I spent hours trying to decide if I should stick it on & where on the application it needed to be stuck or if I should wait. Seriously. In the end I just took the photo with me, leaving all the hard decisions to the person at the consulate office. They just stapled it to the top of the application. Simple. I doubt your application will be rejected it you use glue :)
3. Even though we both applied, we sent our applications in separate parcels {$54 later!} mainly because I tend to stress over the little details. Make sure you buy the Platinum Express Post Parcels. None of the others are appropriate.
As long as you have enough funds, complete the forms correctly & have no criminal convictions I really doubt there will be any issues. We applied 3 months in advance but in hindsight, could have left it a bit longer. We sent our applications on a Thursday, by Tuesday I received a confirmation email {Jon never received an email} and both of us had received our visas within 10 working days.
Our nearest consulate office was in Melbourne, so we made the most of our trip there {our appointments took literally 5 mins each} and bought all our gear at Kathmandu on the same day{we'll blog about this in another post}. Just a hint for anyone who plans to do the same - we stayed at the Victoria Hotel in Little Collins Street, which turned out to be a fantastic location for us. The consulate office was around the corner & Kathmandu was within easy walking distance. I would definately recommend staying there as parking was only $16 overnight {leave before 11am for this rate} and saved us from driving all over the city. For those who'll catch the train, it's also really close to Flinders Street Station.

Our nearest consulate office was in Melbourne, so we made the most of our trip there {our appointments took literally 5 mins each} and bought all our gear at Kathmandu on the same day{we'll blog about this in another post}. Just a hint for anyone who plans to do the same - we stayed at the Victoria Hotel in Little Collins Street, which turned out to be a fantastic location for us. The consulate office was around the corner & Kathmandu was within easy walking distance. I would definately recommend staying there as parking was only $16 overnight {leave before 11am for this rate} and saved us from driving all over the city. For those who'll catch the train, it's also really close to Flinders Street Station.
(click map for more info)
Cost breakdown -
Visas $314 each
Passport photo $14.95 each {for visa application form}
Postage Parcels $13.40 {we purchased 4 as you need to send a self-addressed, prepaid envelope with your application & we sent our applications separately}
TOTAL = $711.50